
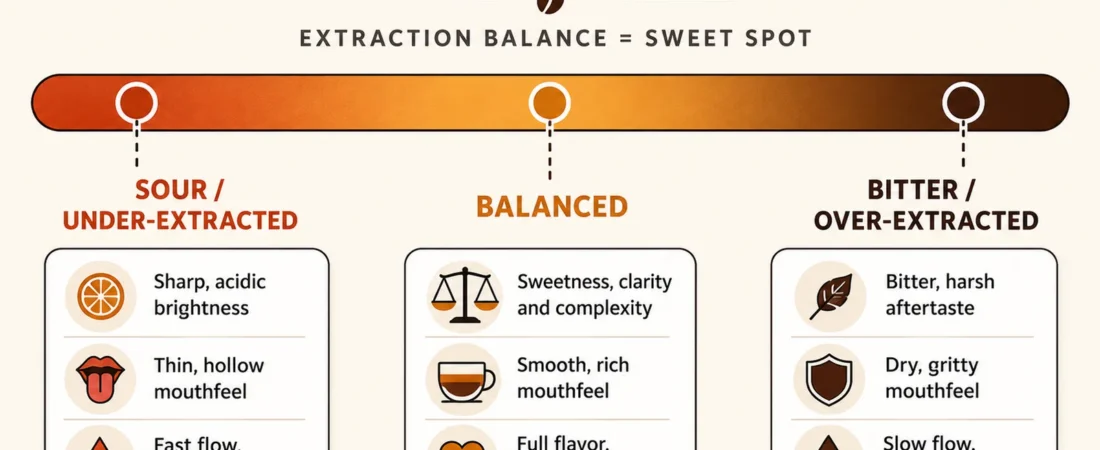
Tell this espresso shot diagnosis tool how your shot tasted and how long it took, and it gives you one thing to change. One change at a time is the fastest way to dial in, because you always know which change made the difference.
Espresso shot diagnosis
Pick the closest taste, enter your shot time, and get one thing to change.
Assumes a shot near a 1:2 ratio, such as 18 g in and 36 g out. Change one thing, pull another shot, and run it again.
Shot diagnosis tool by Dial In Espresso
How the espresso shot diagnosis works
The tool reads taste and time together. Taste tells you what is wrong. Time tells you why. A sour shot that ran fast needs a finer grind. A sour shot that ran in the normal window needs a slightly longer ratio instead. This table shows every answer it can give.
| Taste | Fast (under about 22 s) | In range (22 to 35 s) | Slow (over about 35 s) |
|---|---|---|---|
| Sour | Grind finer | Pull a little more yield | Pull a little more yield, then check brew temperature |
| Bitter | Fix puck prep (likely channeling) | Pull a little less yield | Grind coarser |
| Sour and bitter | Fix puck prep. This points to channeling at any shot time. | ||
| Weak | Grind finer | Pull a little less yield | |
| Sprayed or ran unevenly | Fix puck prep first, whatever it tastes like | ||
The five fixes, explained
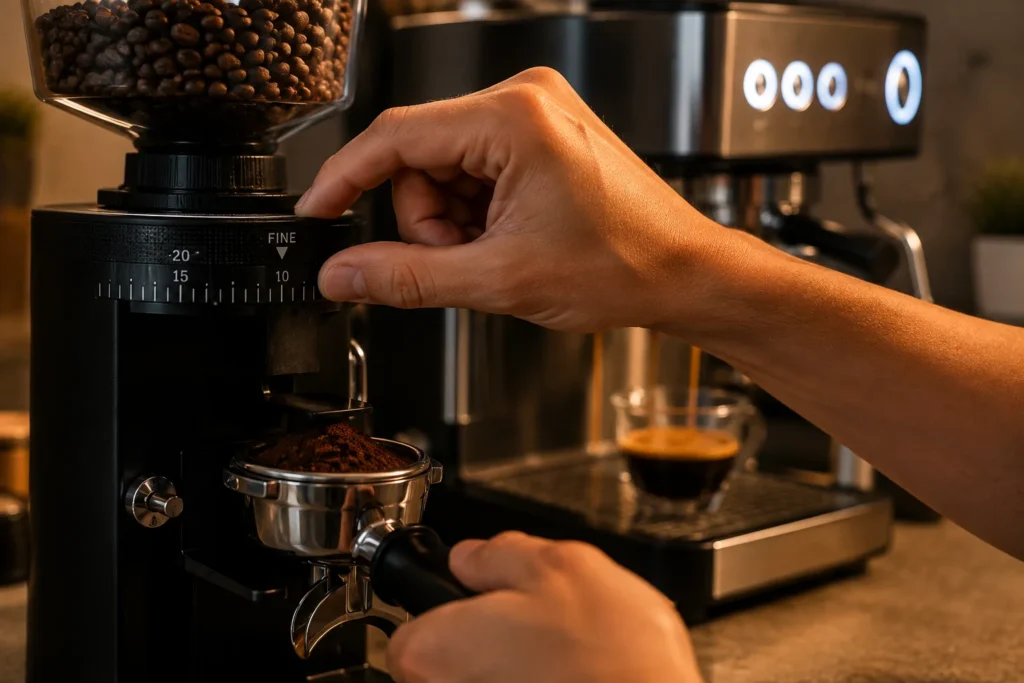
Grind finer. A finer grind packs the puck (the pressed cake of coffee grounds in the basket) more tightly, so water moves through more slowly and pulls out more flavor. Use it when a shot runs fast and tastes sour or weak. Move one small step at a time, because a big jump can push the shot from sour straight to bitter.
Grind coarser. A coarser grind lets water through faster and pulls out less. Use it when a shot runs slow and tastes bitter or harsh.
Pull a little more or a little less espresso. When the shot time already looks normal, the grind is close, so change the ratio instead. A few grams more in the cup softens sourness. A few grams less cuts bitterness and gives a thicker, stronger shot. Our guide to the espresso brew ratio explains how far to move.
Fix your puck prep. If the shot sprays, spurts or tastes sour and bitter at the same time, water is taking an easy path through the puck. Changing the grind will not fix that. Break up clumps with a needle tool, level the coffee bed, and tamp straight down. See tamping and distribution.
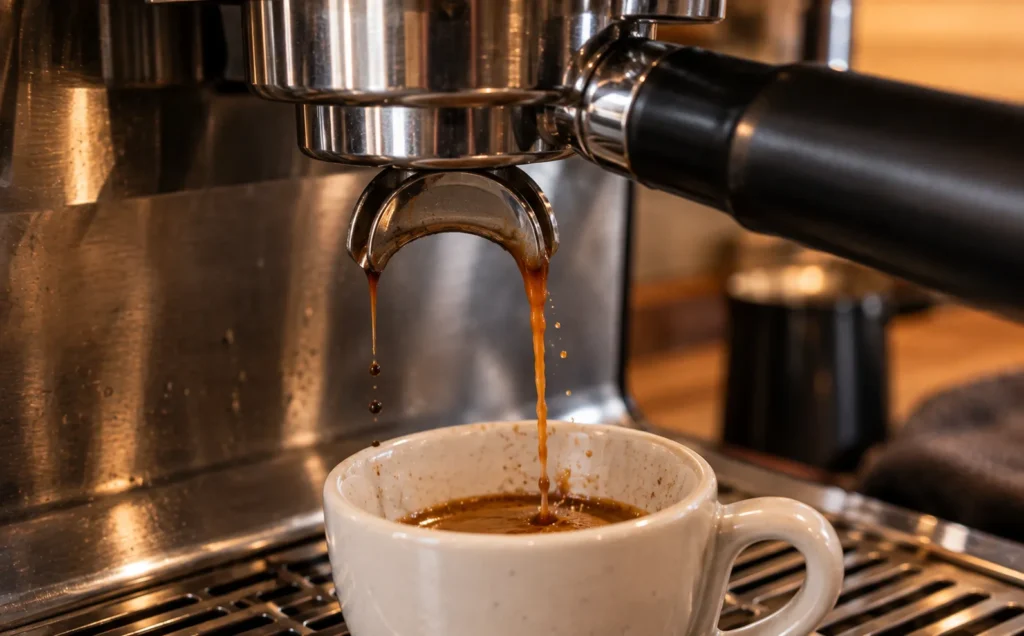
Keep everything the same. When the shot tastes balanced, write down the dose, yield and time. That recipe is your starting point for the rest of the bag.
Why only one fix at a time
Changing the grind and the yield on the same shot makes it impossible to tell which change helped. Most dialing in guides recommend keeping the dose fixed and changing one thing per shot. Pull the next shot, taste it, and run the espresso shot diagnosis again.
Weigh your dose and your yield if you can. A small scale that reads to 0.1 g makes every shot easier to compare.
Telling sour from bitter
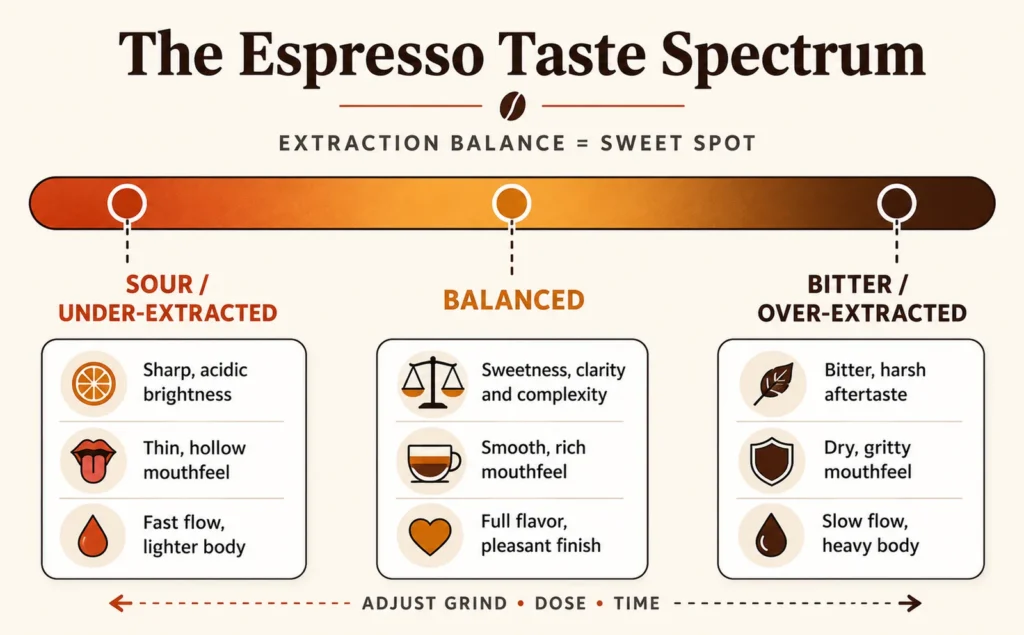
Sour is a sharp, lemony bite near the start of the sip, often with a thin body. Bitter shows up at the end, as a dry, harsh aftertaste that lingers. If you taste both, the shot probably extracted unevenly. The espresso taste map walks through each one in more detail.
When the fix does not work
If you have made three or four changes and the shot still tastes wrong, the problem may not be technique. Stale beans, a grinder that cannot grind fine enough, or scale inside the machine can all hold a shot back. See technique or equipment to work out which side the problem is on.
For every shot problem in one place, see the Troubleshooting hub and the espresso troubleshooting guide. For the full method, see the Dialing In & Technique hub.
Where the rules come from: Dialing In Espresso By Taste (Clive Coffee) for grind changes by taste and time, and Dialling In Basics (espressoaf.com) for ratio changes by taste and spotting channeling (water rushing through weak spots in the coffee).