
Beginner's Essentials
Espresso has a steep first week. The terminology alone (dose, yield, tamp, WDT) sounds like a different language, and most machine manuals assume you already know it. This hub starts from zero: what espresso is, how the machine works, and what you need to buy before you spend money you don't have to.
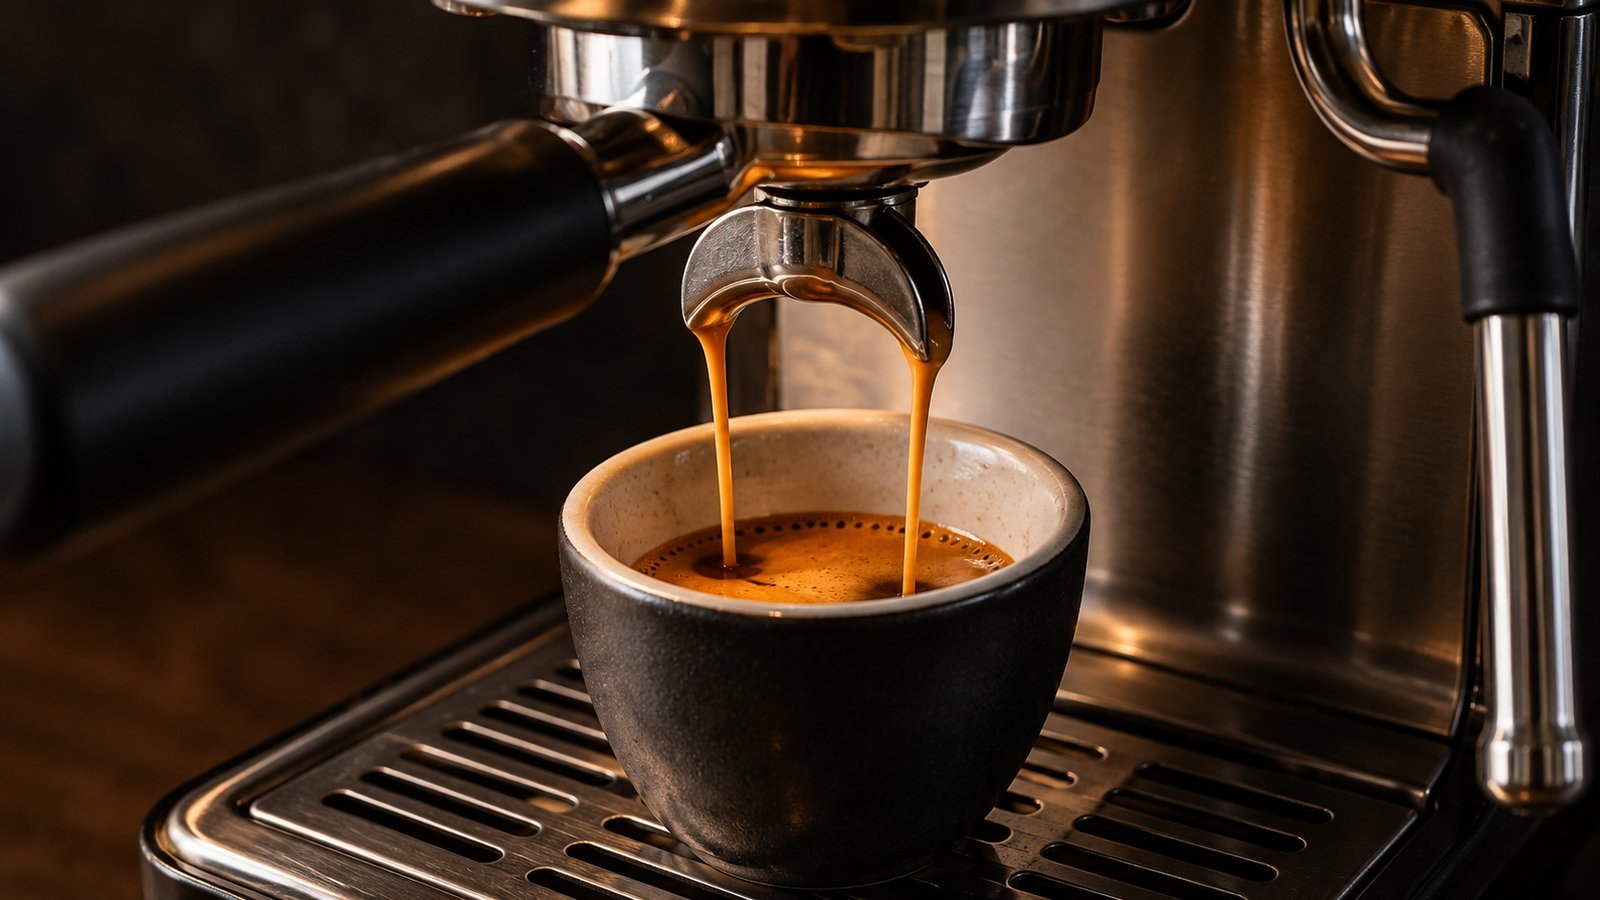
What espresso is and why pressure matters
Espresso is coffee brewed by forcing hot water through a tight bed of finely ground coffee under pressure. Drip, pour-over and French press rely on gravity or steeping and take minutes. An espresso shot takes under a minute and comes out small, thick and concentrated.
Pressure is what makes that possible. On its own, water won't flow through coffee that is ground about as fine as table salt and packed into a basket. The pump pushes it through. Home barista guides and machine sellers give the same figure: about 9 bars, which Complete Home Barista calls the industry standard. Many machines start with a gentler pre-infusion of 3 to 6 bars for 5 to 10 seconds to wet the coffee first.
The published starting points for a double shot line up closely across sources:
| What you control | Common starting point | Why it matters |
|---|---|---|
| Dose (dry coffee in) | 18 to 20 g | Sets the strength and must match your basket size |
| Yield (espresso out) | About twice the dose, so 36 to 40 g | A 1:2 ratio is the usual first recipe |
| Shot time | 25 to 30 seconds | Tells you if the grind is in the right range |
| Water temperature | 195 to 205°F (90 to 96°C) | Too cool tastes sour, too hot tastes bitter |
You don't need to memorize these. They give you a place to start, and the rest of this hub explains how to adjust from there. The dialing-in guides go further once you're pulling your first shots.
What you need to start
Clive Coffee's starter guide lists four essentials: a machine, a burr grinder, a scale and fresh beans. You also need a tamper, but one usually comes with the machine. They don't matter equally. The same guide calls the grinder the piece people underestimate, because a good shot and a sour, watery one can be a single notch apart on the dial. It advises spending at least as much on the grinder as on the machine.
| Order | Item | What matters most | Why |
|---|---|---|---|
| 1 | Burr grinder | Fine enough for espresso, with small steps or stepless adjustment | The grinder controls extraction. Blade grinders and most drip burr grinders can't reach espresso fineness. |
| 2 | Espresso machine | Stable temperature and steady pressure. A PID controller helps. | Temperature stability shows in the cup more than extra features do. |
| 3 | Digital scale | Reads to 0.1 g | Recipes are measured by weight in and weight out. Without one you are guessing. Clive Coffee puts a suitable scale at $15 to $40. |
| 4 | Fresh whole beans | A roast date within the last 2 to 4 weeks | Pre-ground coffee, or beans roasted long ago, make less crema and taste less sweet. |
| 5 | Tamper | Sized to your basket | Most machines include one. Upgrade later if it doesn't fit well. |
If you drink lattes or cappuccinos every day, think about steaming too. A heat exchanger or dual boiler machine can brew and steam at the same time. For straight espresso, a single boiler is enough.
Clive Coffee also warns that "start cheap and upgrade later" is often the most expensive path. Its example is a $200 machine with a pressurized basket (one built to make up for a poor grind) and a $100 blade grinder, followed by a $1,200 setup bought later anyway. The Espresso Machines and Espresso Grinders hubs explain what changes as you spend more.
Your first week: what to learn, in order
Learn one skill at a time and keep everything else fixed. Each step below builds on the one before it.
- Days 1 and 2: weigh everything. Put the portafilter on the scale and dose 18 g, or whatever your basket is made to hold. Weigh the shot as it pours. Weight is more reliable than reading volume off a cup.
- Day 3: learn the routine. Grind right before you dose. Wipe the basket dry, spread the grounds into an even bed, then tamp once, level and firm. Five Senses Coffee notes that a wet basket gives water an easy path around the coffee.
- Day 4: time the shot. Start a timer when you start the pump. The first drops should appear after about 5 to 8 seconds, and a double should reach its target weight in about 25 to 30 seconds.
- Day 5: change the grind only. If the shot runs fast and tastes sour, grind finer. If it runs slow and tastes bitter, grind coarser. Trade Coffee's dialing-in guide says to move one notch at a time before touching dose or time.
- Days 6 and 7: taste and adjust the ratio. Once the time is in range, try a slightly shorter or longer yield and note what you prefer. If you like the shot, it is dialed in.
Write each shot down: dose, yield, time, grind setting and one word on taste. A week of notes shows patterns that are hard to see shot by shot.
Common beginner mistakes
Most early problems come from a handful of habits. Each one has a simple fix.
| Mistake | What happens | The fix |
|---|---|---|
| Using pre-ground or old coffee | Little crema, flat or sour taste | Buy whole beans with a roast date in the last 2 to 4 weeks and grind for each shot |
| Spending most of the budget on the machine | The grinder can't go fine enough to dial in | Budget at least as much for the grinder as for the machine |
| Not weighing dose and yield | Every shot is different, so you can't tell what changed | Use a scale that reads to 0.1 g, in and out |
| Changing several things at once | You can't tell which change helped | Change the grind first, one step at a time |
| Uneven grounds or a tilted tamp | Channeling: water takes the easiest path through the puck and the coffee extracts unevenly | Level the bed before tamping and tamp straight down once |
| Leaving stale grounds in the grinder | Old coffee mixes into a fresh dose | Grind a few grams and throw them away before dosing (called purging) |
| Stopping the shot right at the target weight | The cup ends up heavier than planned | Stop about 3 g early, since the spouts keep dripping |
If your shots still go wrong after fixing these, the Troubleshooting hub matches each symptom to its likely cause.
Sources: Complete Home Barista, Clive Coffee, Trade Coffee and Five Senses Coffee.
What Is Espresso? (And Why It's Different From Other Coffee)
You're brand new and want the basics first.
How Does an Espresso Machine Work? (The Plain-Language Breakdown)
You want to know what happens inside the machine during a shot.
Espresso Machine Types Explained: And Which One Fits Your Learning Style
You can't yet tell manual, semi-automatic and automatic machines apart.
Manual vs Semi-Automatic Espresso Machine: Which One Should You Learn On?
You're deciding how hands-on your first machine should be.
How to Choose an Espresso Machine: A Beginner's Decision Framework
You're ready to narrow down to a shortlist.
Essential Espresso Accessories: What You Need (And What Can Wait)
You have a machine and want to know which tools to buy now.
The Real Espresso Starter Kit: Honest Equipment Picks From $150 to $500
You want a full starting setup planned in one place.
Portafilter Sizes Explained: Which One Fits Your Machine
You're buying a tamper, basket or distribution tool and need the right size.
How Much Caffeine Is in a Shot of Espresso?
You want to compare a shot with a cup of drip coffee.
Start with the fundamentals
If you're brand new to espresso, this is the article to read first. It explains what makes espresso different from every other way of making coffee, and why that difference matters for every equipment decision that follows.
Read: What Is Espresso? →Guides are researched from manufacturer manuals, roaster guidance and published coffee science. No sponsorships, no paid placements.